Updating to the New Statistics Page
AdButler is upgrading the Statistics page to improve functionality and usability. This guide will walk you through the changes you'll see in the new interface, so that you can jump in and start generating reports right away.
Generating a Report
The first thing you'll see on the new Statistics page is that the menus look a bit different. Most noticeably, they're now split into sections based on their functionality, consisting of Select Data, Select Dates, and Filter Data.
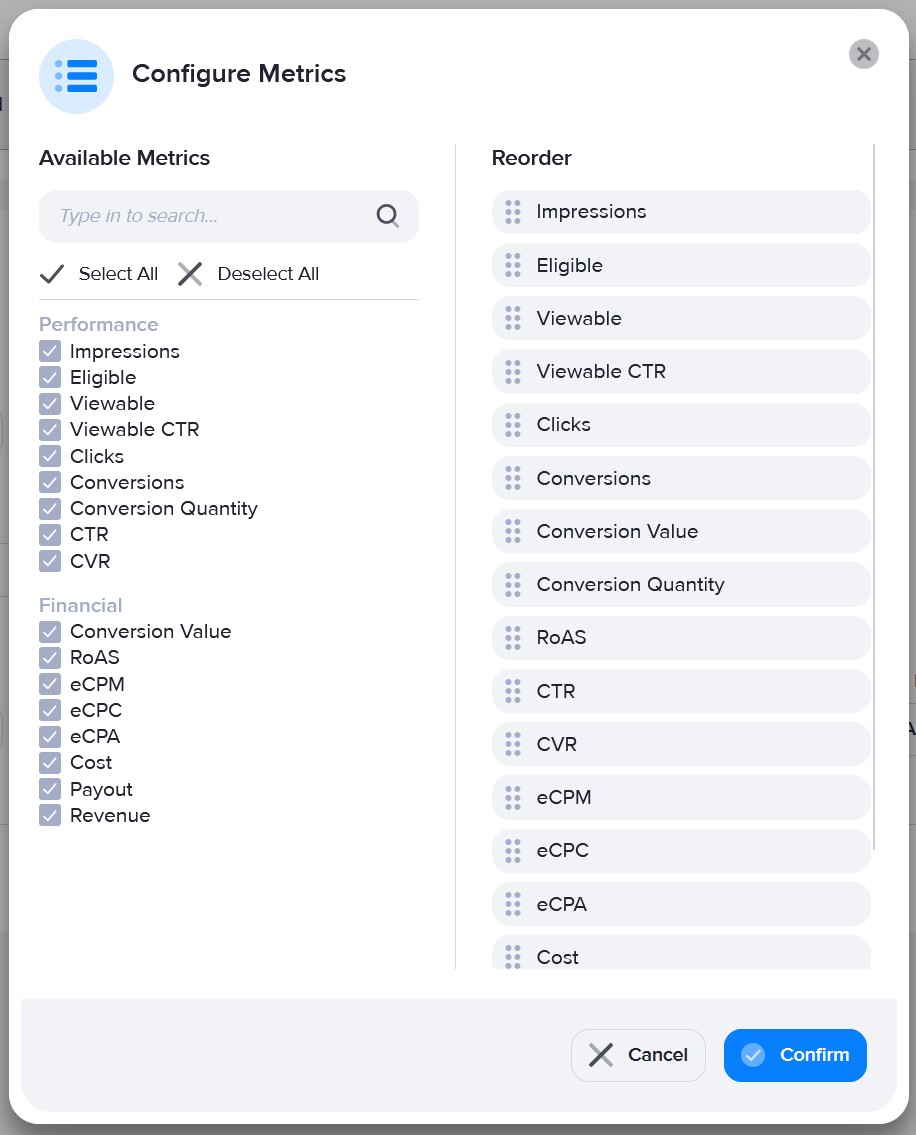
Several of these menus, including the metrics selector and the Filter Data section, are now searchable. Simply start typing the name of the Publisher, Zone, etc. that you're looking for, and the results will be filtered to match.
Then, hover over the item you want, and click the Add button to include it in your report. Click Confirm when you have selected all the items you want to include.
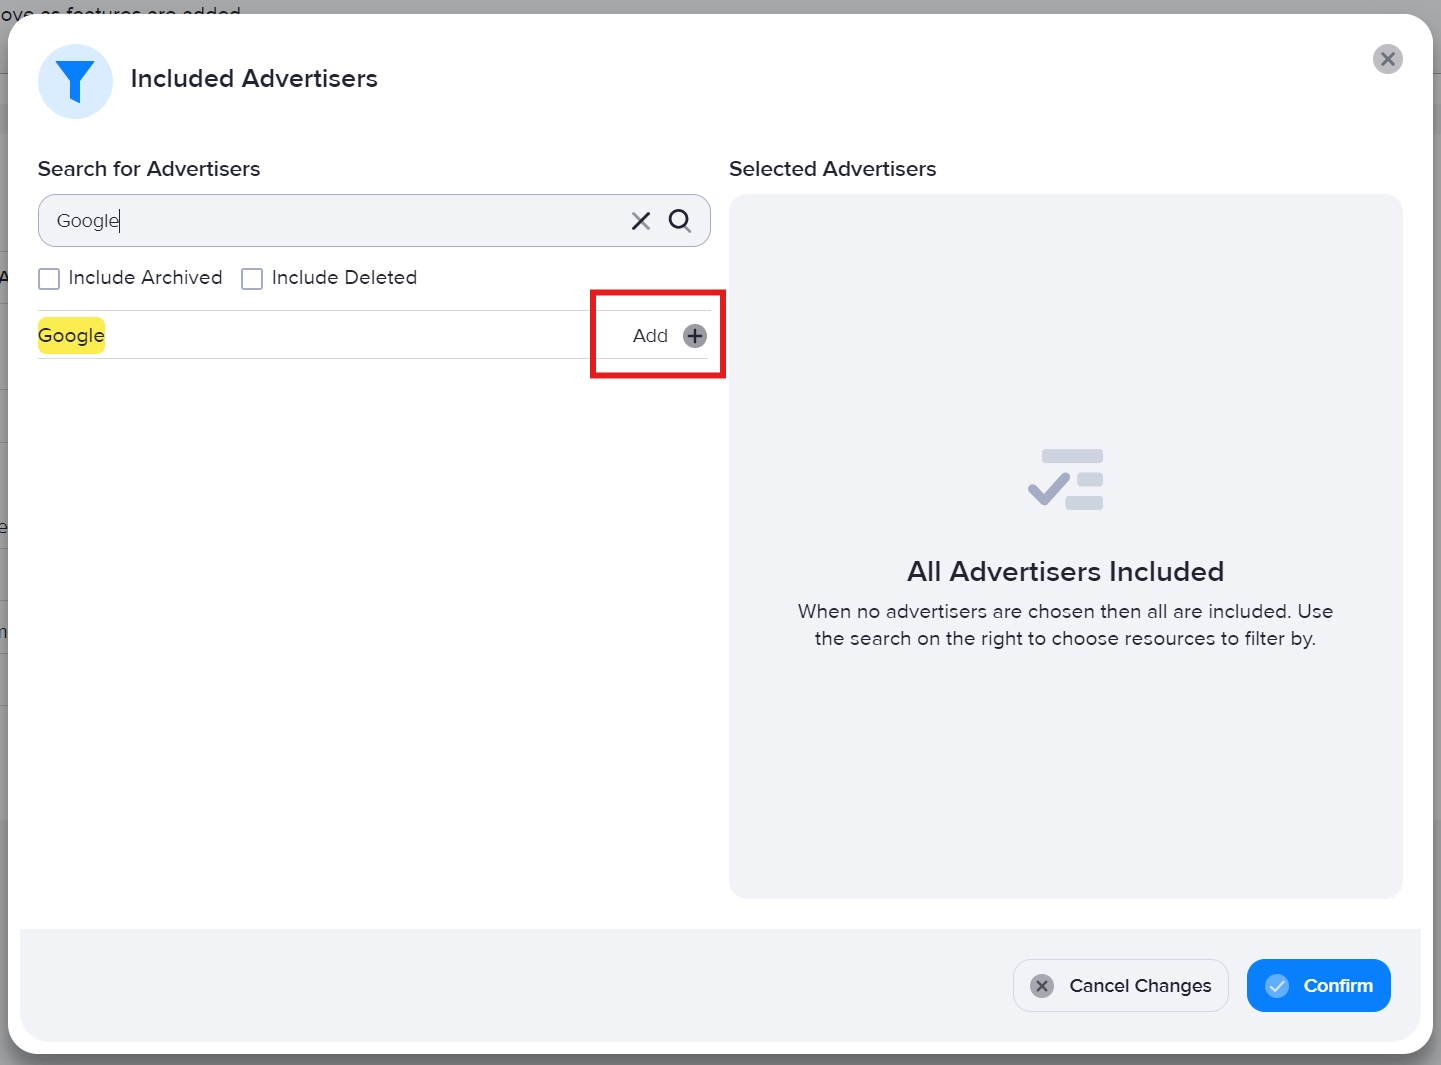
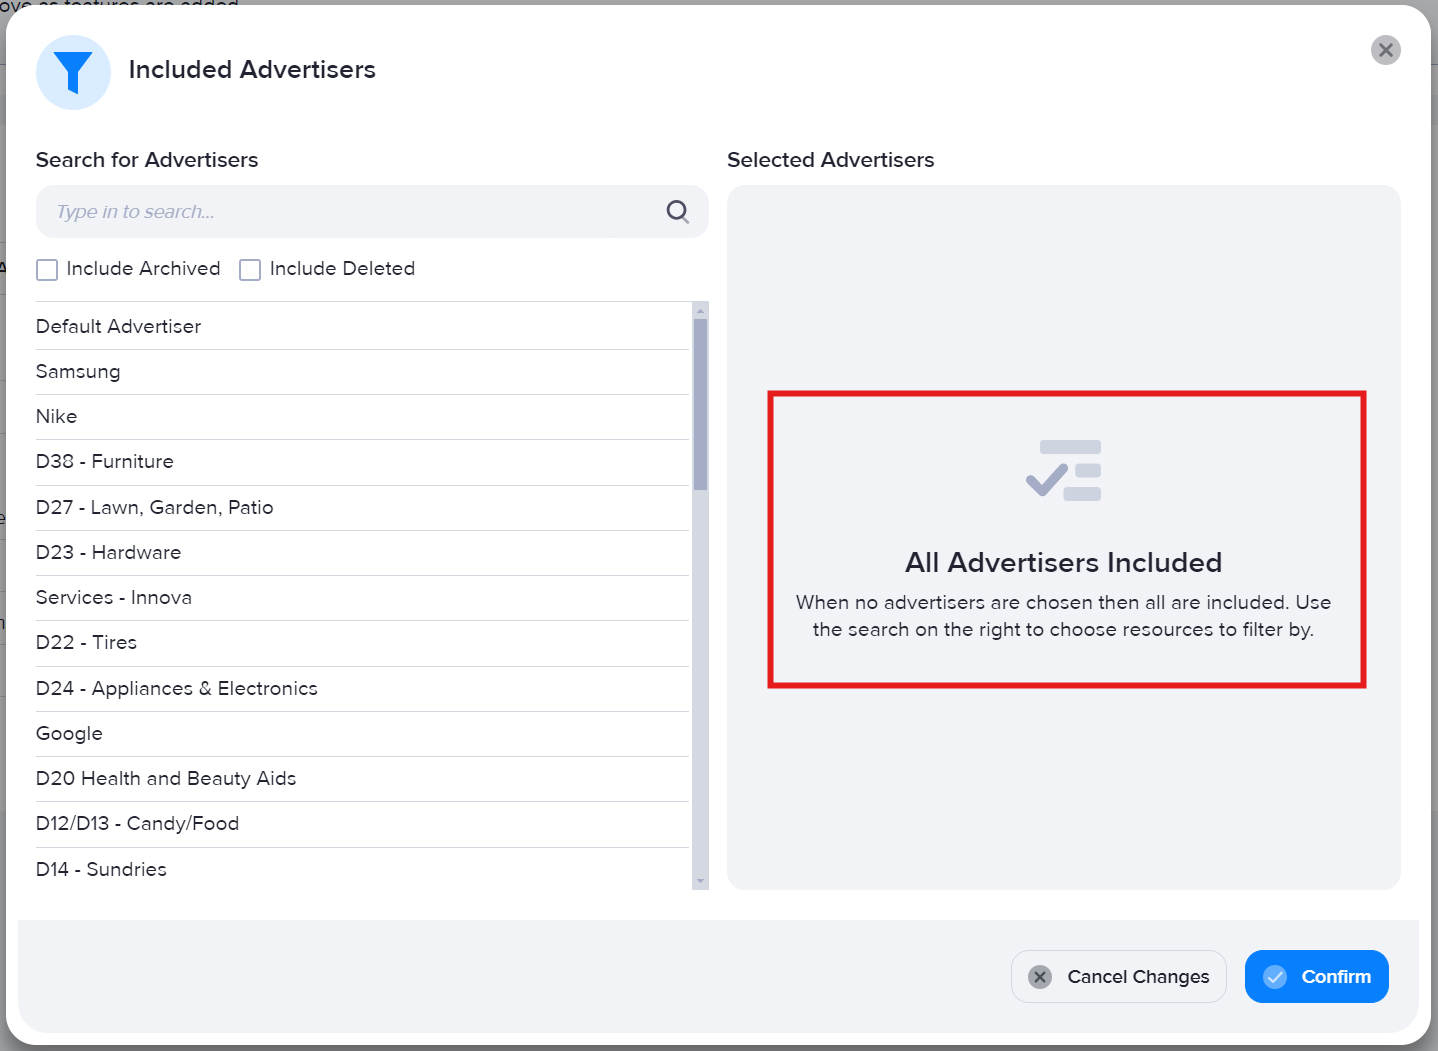
Keep in mind that, when adjusting Filter Data menus, if you de-select all options, the report will include all items. So, if you want a report which includes all Publishers, you can leave the Publishers Filter Data menu alone, and they will all be included.
As mentioned previously, the metrics menu is also searchable. Additionally, you can re-arrange the order of the metrics in your report by dragging them up or down.
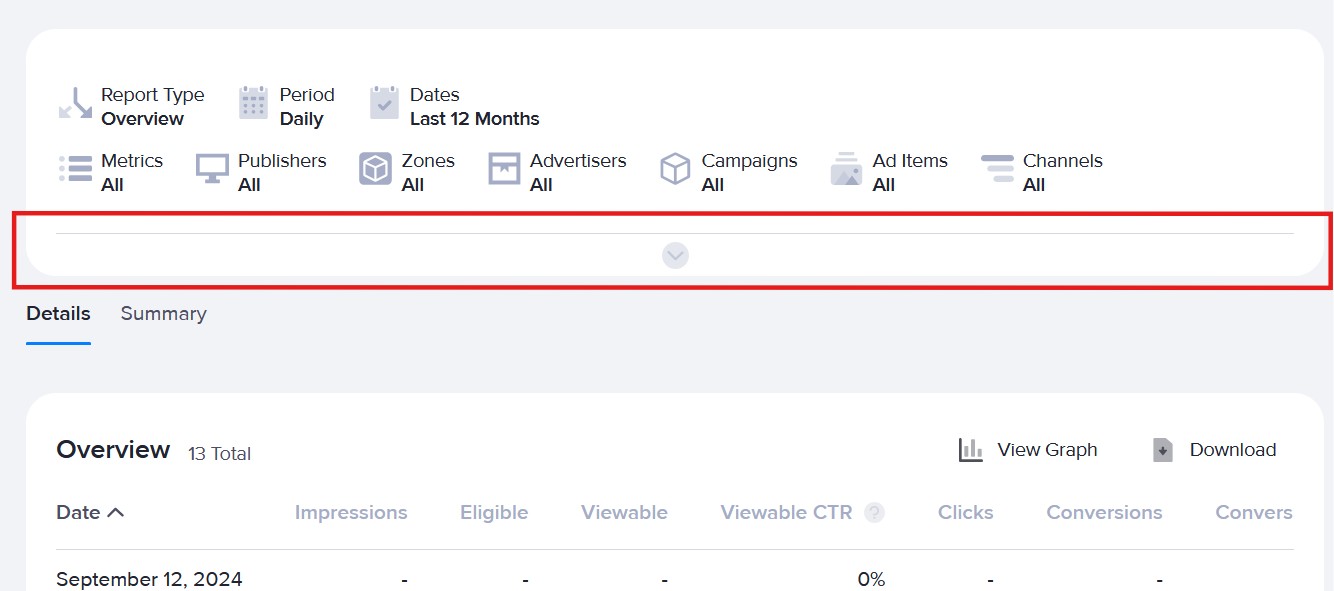
Once your report is generated, you can edit its settings or start a new report by clicking the expandable bar in the Report Settings section.
Saved Reports
Saved reports are now called "Report Configurations". You can read all about them in their own help doc.
Channel Filtering
The channel filtering feature has undergone some changes in the transition to this new Statistics interface. Let's take a look at what that entails.
Old Method
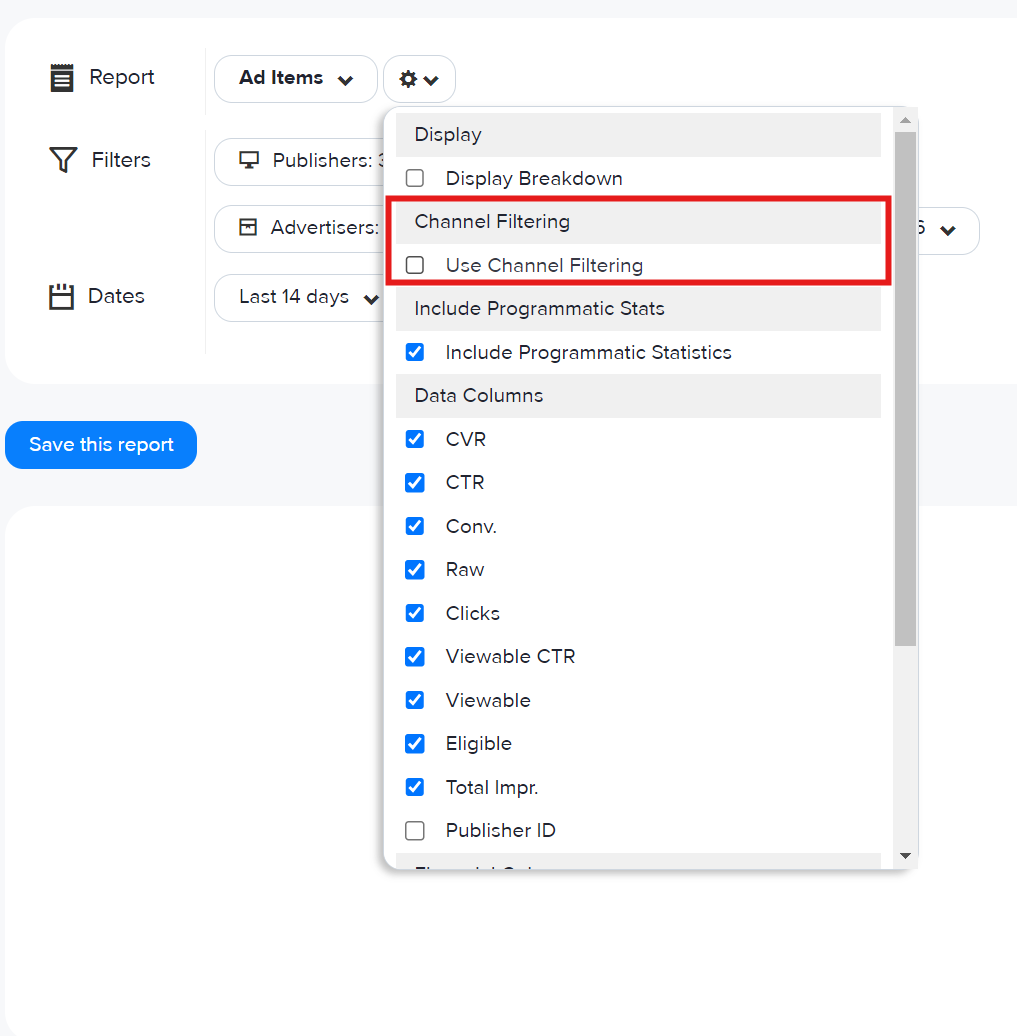
In the previous version of the Statistics page, you could click "Use Channel Filtering" to apply channel filters to your report. By default, all channels were selected, and this feature would exclude any statistics which did not come from a channel. You also had the option to switch this to "Exclude Channel Stats", which would exclude any statistics which did not come from a channel.
New Method
With the new Statistics page, channel filtering is always visible, as long as you have the Channels feature unlocked for your AdButler account. You can add the Channel feature to your account at any time by contacting our Success & Support team.
By default, the filter now includes all channels. This means that all statistics are included, no matter what channel they came from, or if they came from no channel at all.
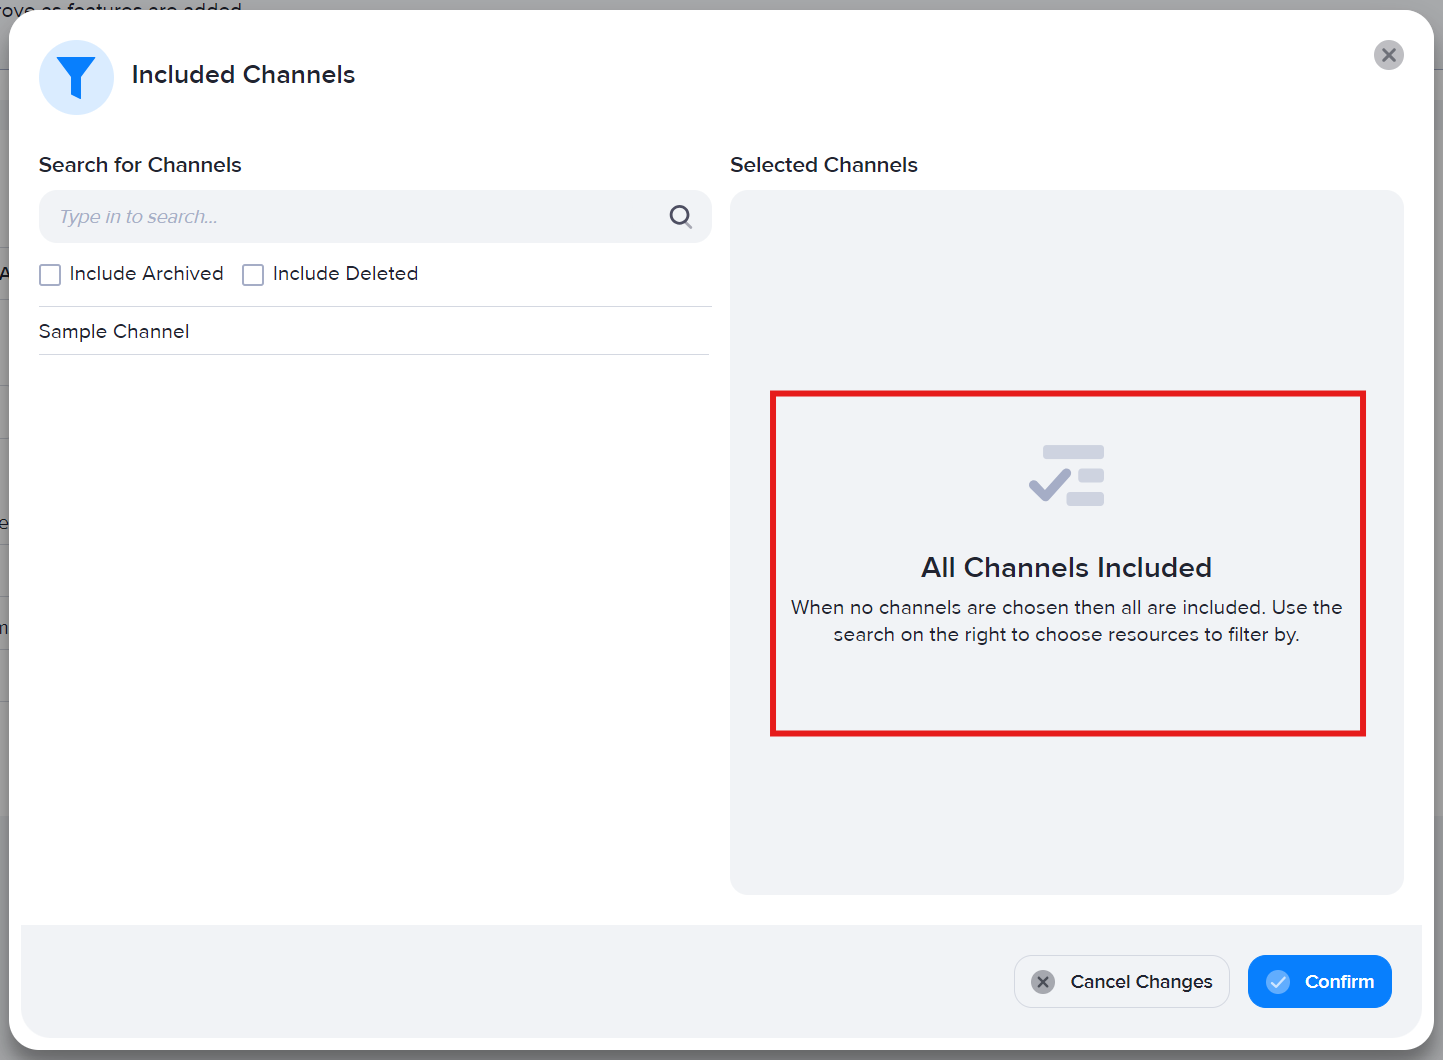
If you wish to filter your statistics to only display results from particular channels, this is done the exact same way you would filter by Advertiser, or Zone, or any other option from the Filter Data section. Keep in mind that this will also filter out statistics which did not go through any channel.
Excluding Channel Statistics
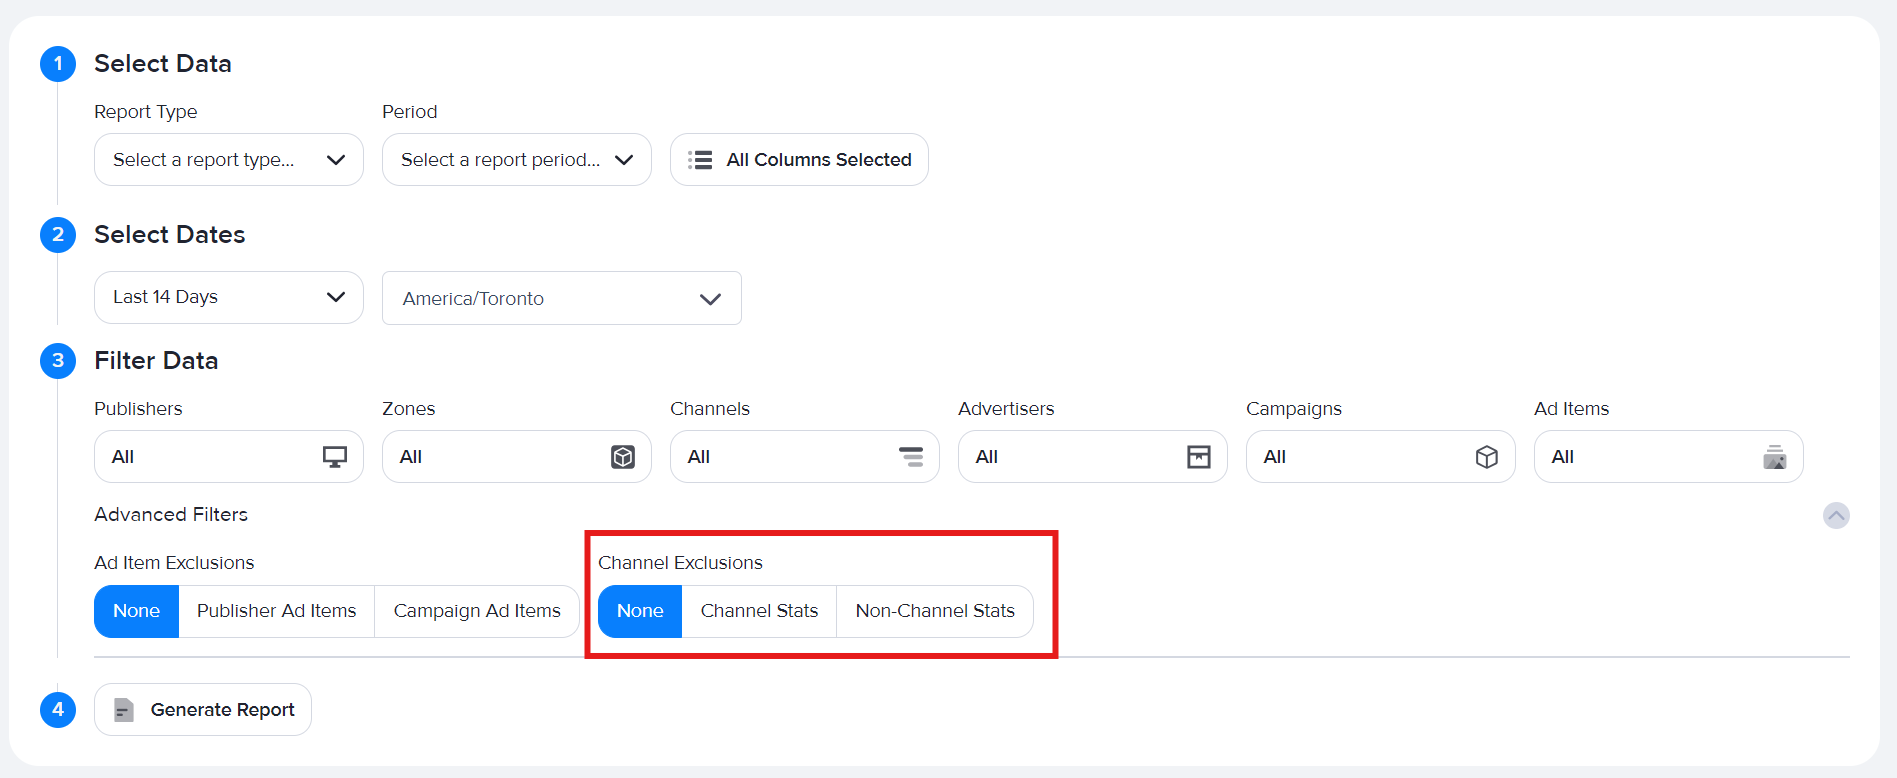
In the new Advanced Filters section under Filter Data, you'll see an option for Channel Exclusions. You can use this option to exclude either all Channel Stats or all Non-Channel Stats from your report. By default this is set to "None", meaning all statistics would be included, regardless of whether they came from a channel or not.
Programmatic Stats
The Programmatic Stats feature has moved to an entirely different section under the Statistics header. Read on for details.
Old Method
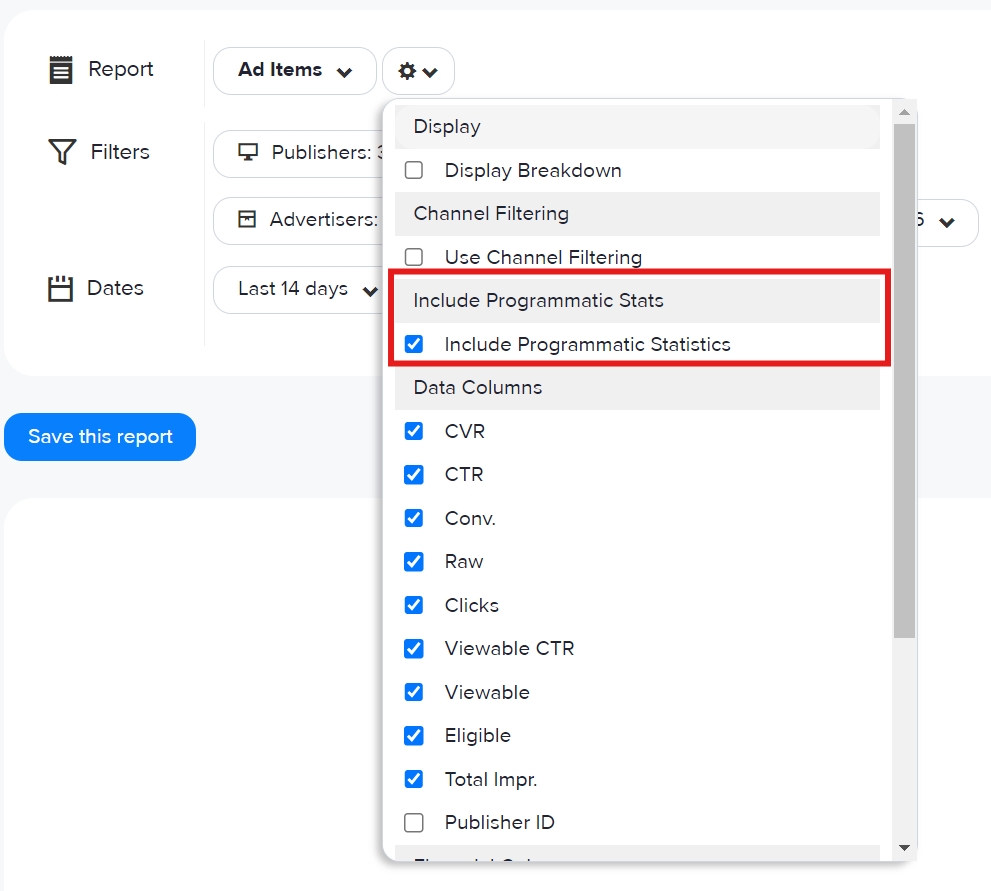
In the previous version of the Statistics page, clicking the gear icon gave you a drop-down menu which allowed you include programmatic statistics in your report by checking the "Include Programmatic Stats" box.
New Method
The new Statistics page doesn't include programmatic stats at all, as they have been moved to their own section.
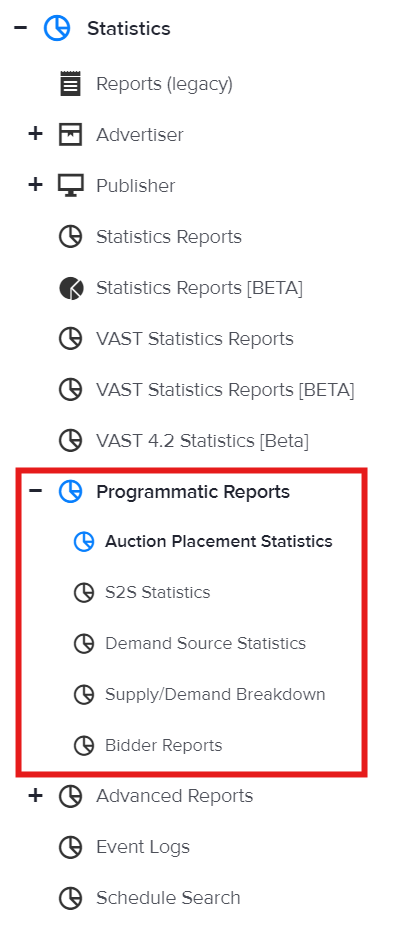
In the sidebar, open the Statistics header, then click on the Programmatic Reports sub-header. You'll see a number of reporting options there. Just click the one you want, adjust your settings, and click the blue Generate button in the upper-right corner.

Breakdown
The "Display Breakdown" option allowed a report to be broken down into smaller pieces. Unfortunately, the subsequent report was difficult to parse, and thus the feature was not very useful.
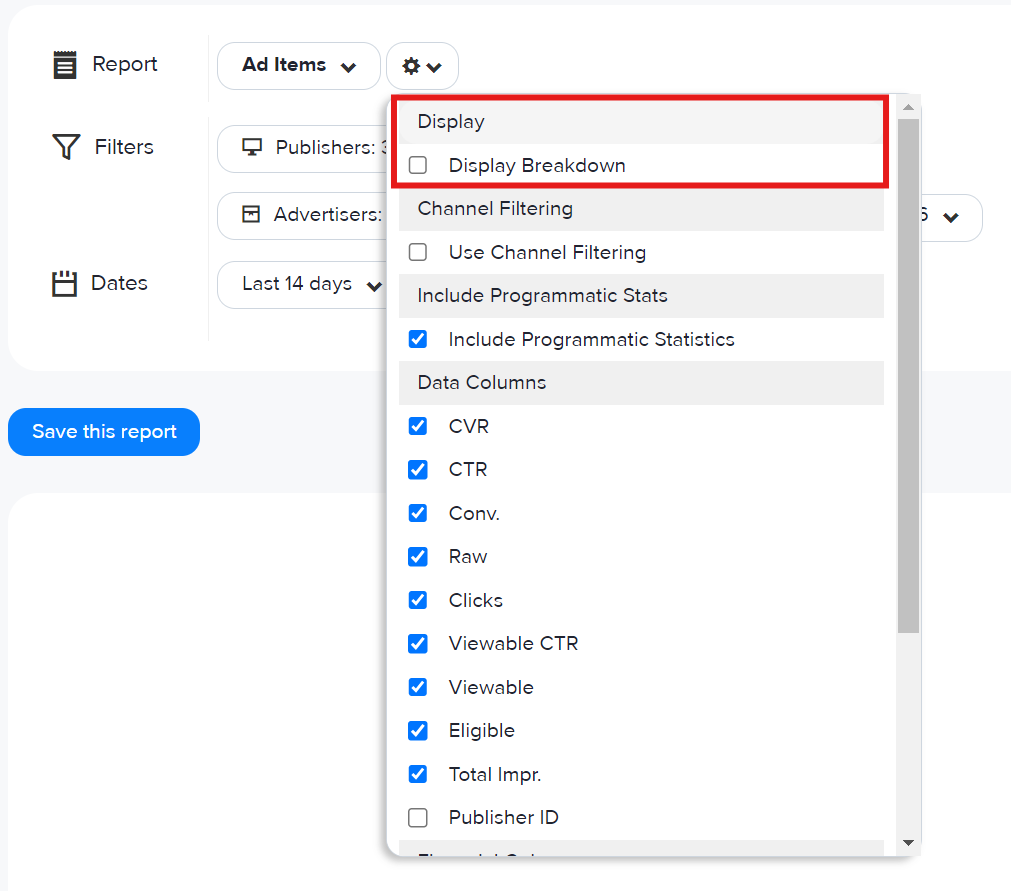
This feature has been removed from Statistics reporting while we investigate better ways to display this data.
Pivot Table Downloads
The previous version of the Statistics page included an option to download data as a pivot table.
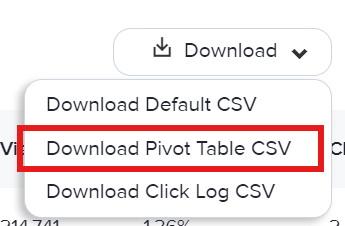
This feature has been removed due to lack of use, and is no longer available in the new Statistics page.
Click Log Downloads
As with pivot tables, the previous version of the Statistics page allowed for downloads of the click logs in CSV format.
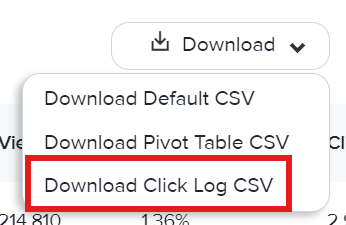
This feature has been temporarily removed, and is not currently available in the new Statistics page. Click logs can still be accessed at the zone and campaign level, but there are no click log pages available for other resource types at this time.
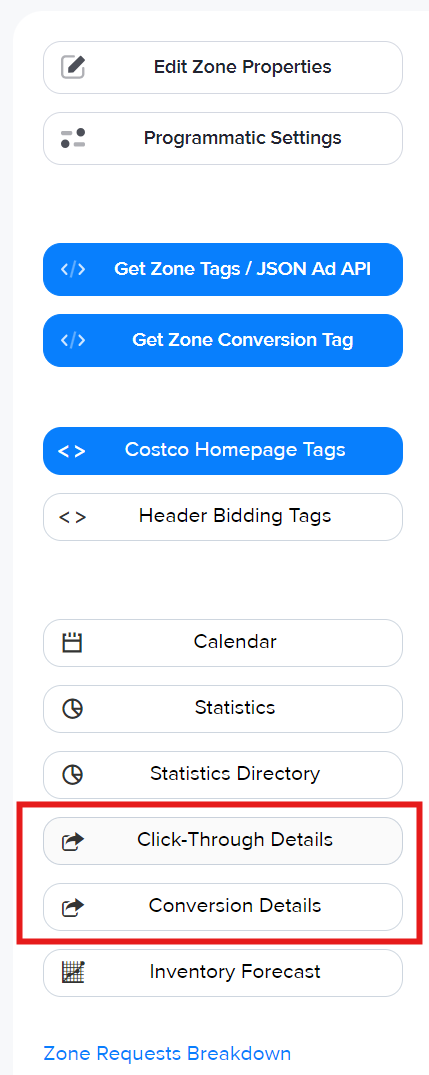
Exclude Ad Items in Zones
While most ad items are organized and served through campaigns, it is certainly possible to assign them directly to a zone. With the previous Statistics page, these "Publisher Ad Items" could be excluded by un-checking the "Publisher Ad Items" option under the "Advertiser" filter. Conversely, you could un-check all advertisers except "Publisher Ad Items" to only include those items which had been added directly to the zone.
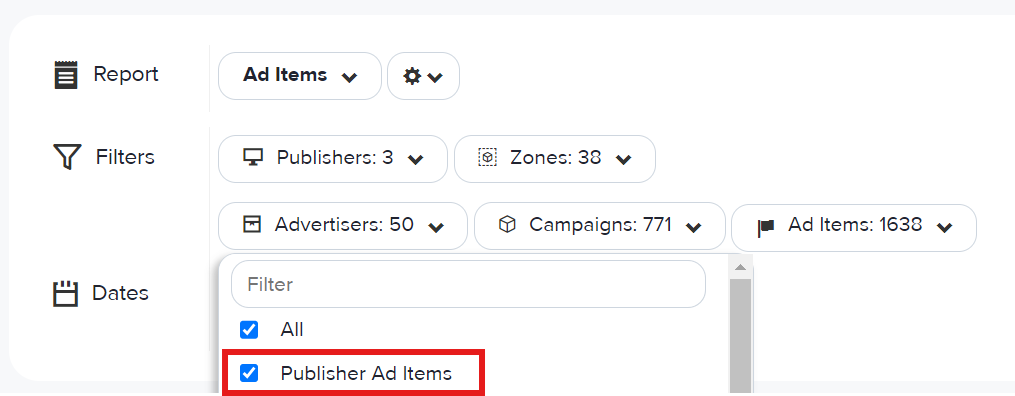
This was found to be unclear and easy to miss, so in the new Statistics page it has been moved to an Advanced Filters section, just below Filter Data.
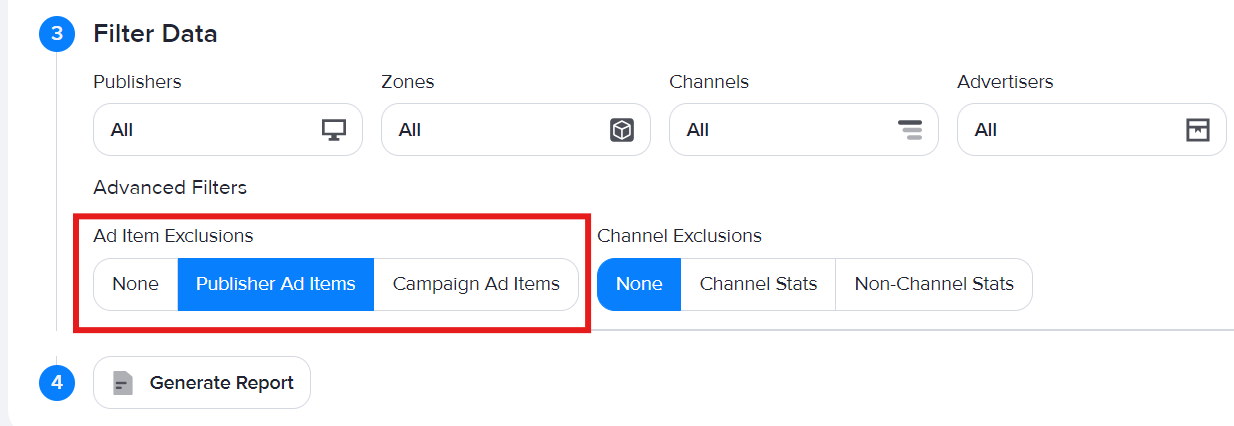
You can choose to exclude Zone Ad Items, which will only include those ad items which are served via campaigns, or Campaign Ad Items, which excludes all ad items except those served directly to the zone.